


Why replace headlights and indicators?
Over time and with off-road use, the headlights on your 4x4 have certainly aged. So don't hesitate to replace them with models that will give your vehicle a "facelift".
In this article, we'll show you step-by-step how easy it is to change your vehicle's headlights and indicators.
The example of headlight and indicator replacement shown here was done on a Nissan Y61.
This tutorial is valid for virtually all 4x4 models.
TOOLS REQUIRED
To change the headlights and indicators on your Nissan Patrol Y61, you need :
. A flathead screwdriver
. A Phillips screwdriver
LEVEL OF DIFFICULTY
To give you an idea of the level of difficulty of our tutorials, we've graded them from 1 to 5.
Changing headlights and indicators on a 4x4 is level 1
WORKSHOP
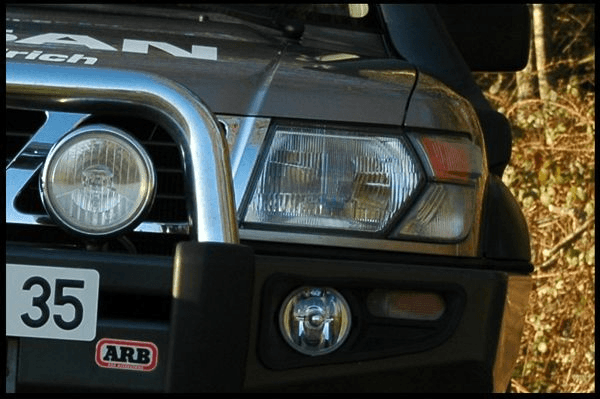
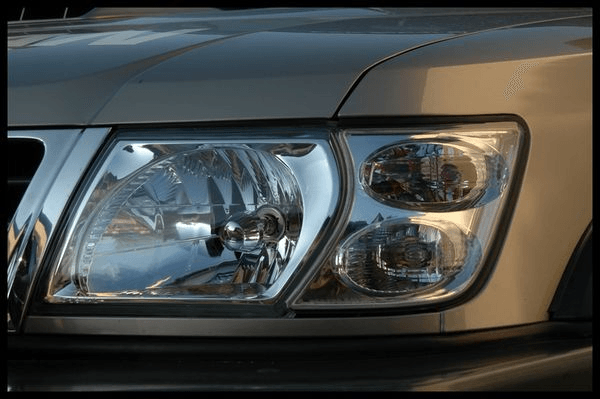
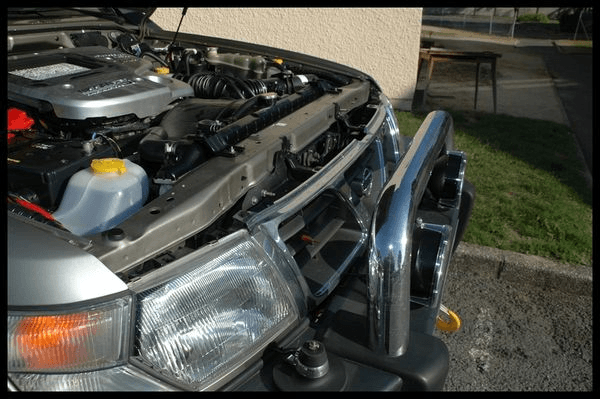
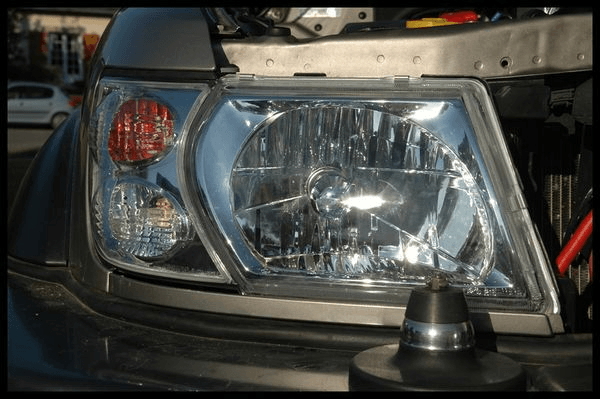
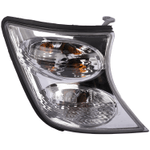
1 - The old headlights and indicators on this 2002 Patrol Y61.
2 - First, remove the radiator grille.
3 - There are four clips at the top of the grille and a larger one behind the Nissan logo.
4 - There are clips on either side of the lower grille, which can be removed with a flathead screwdriver.

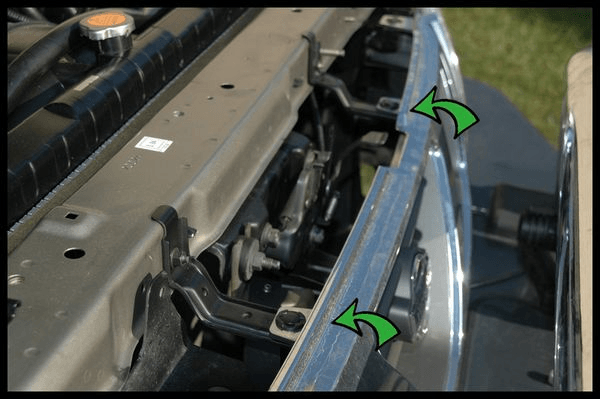
5 - Details of how to remove the upper and lower grille fasteners.
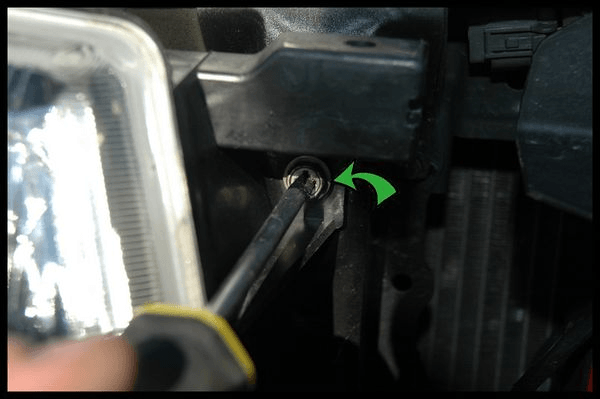
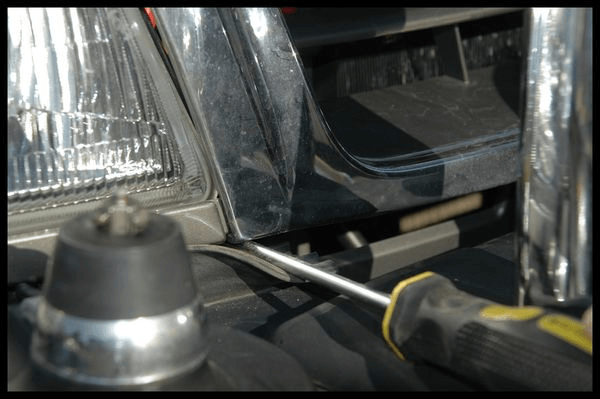
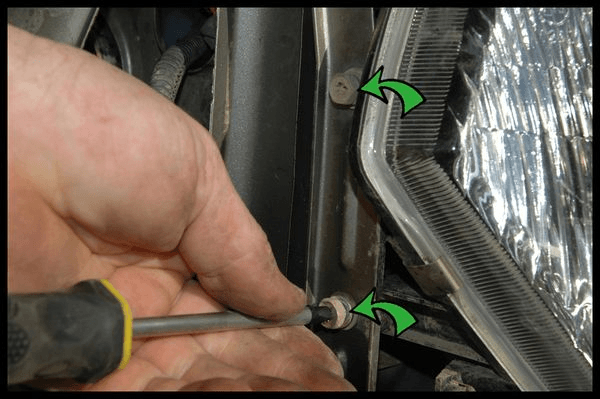
6 - Once the grille has been removed, start by removing the first headlight screw.
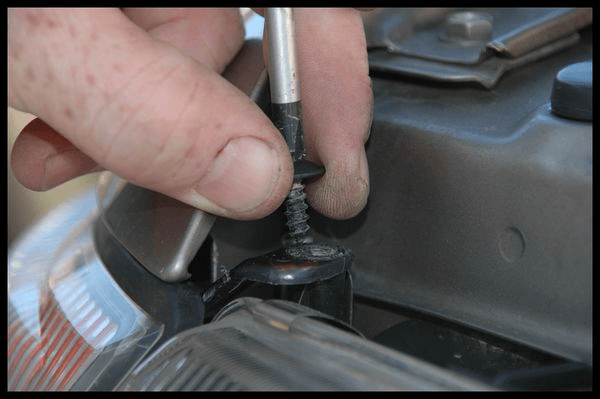
7 - To access the other screws, remove the indicator by removing the top screw.
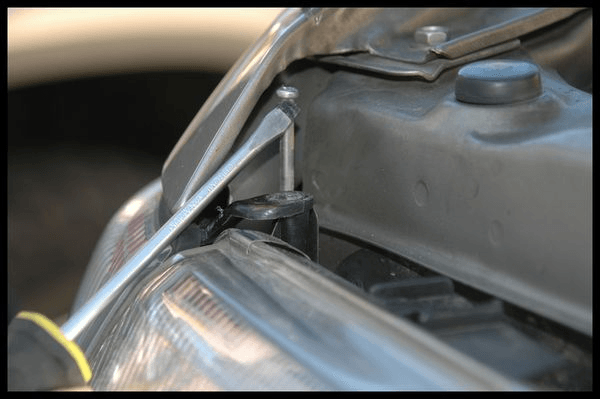
8 - As well as this rod, which must be unscrewed and then lifted.
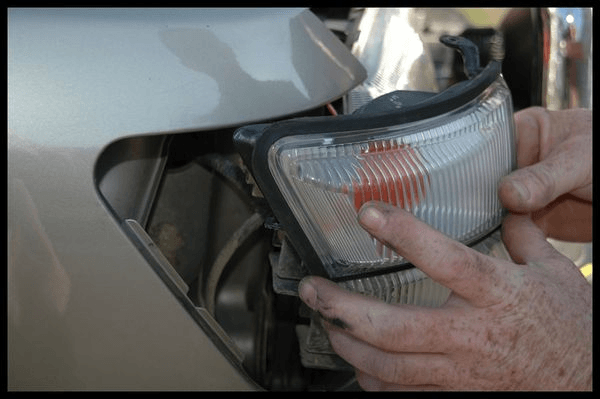
9 - Then gently pull the indicator forwards to remove it and disconnect the plug.
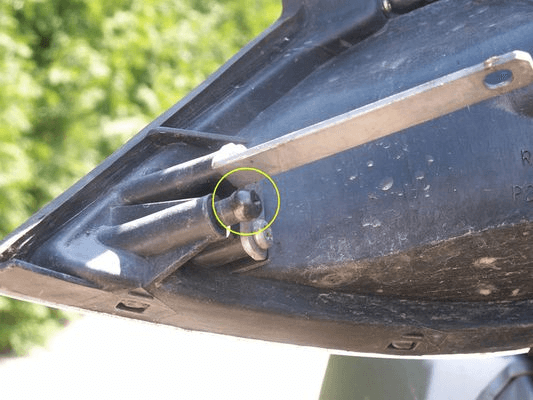
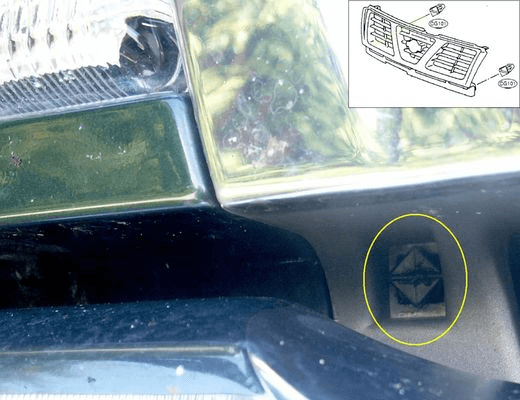
10 - Detail of the clip holding the indicator.
11 - With the indicator removed, you have access to the two screws on the side of the headlight.
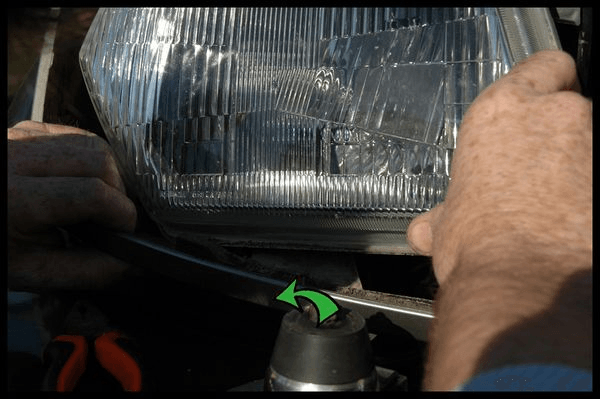
12 - There are still two screws to remove from the strip below the headlight.

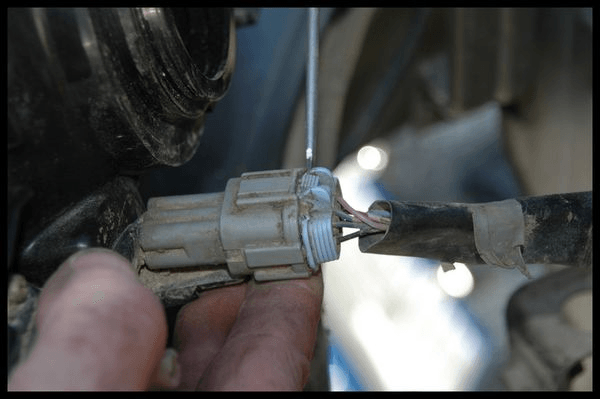
13 - Gently pull forward to disconnect the headlight sockets.
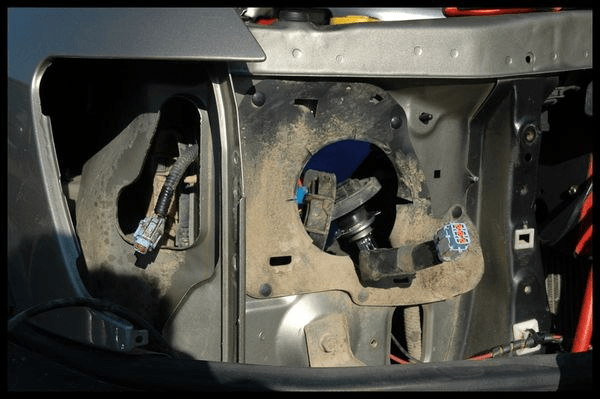
14 - The headlight and indicator have been removed.
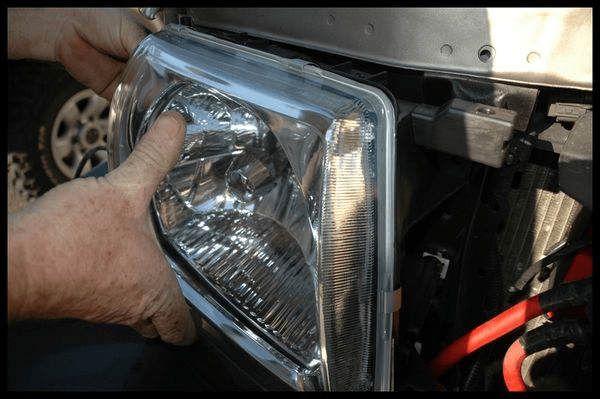
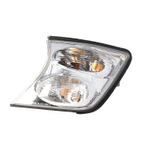
15 - Move the new headlight closer to its position and secure it with the screws. Don't forget to reconnect the plugs.
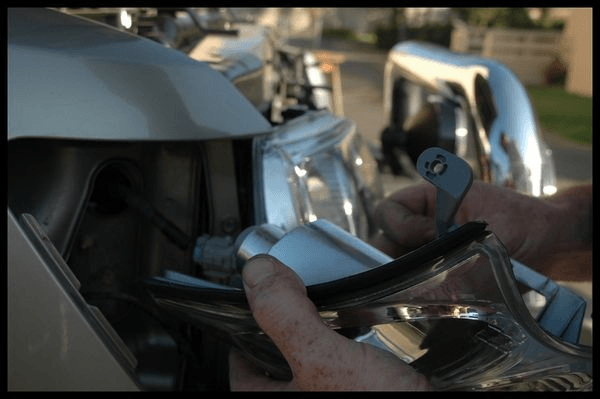
16 - Refit the indicator and don't forget to reconnect the plug.
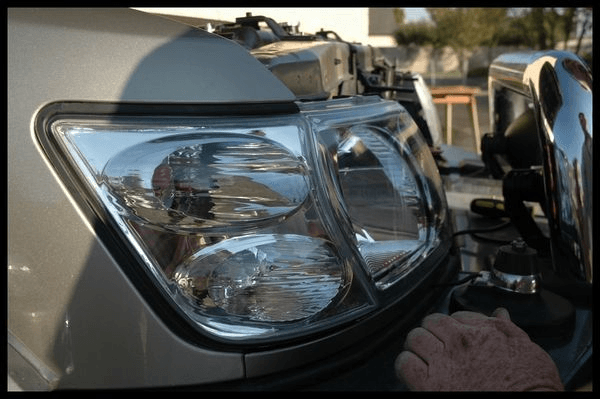
17 - After screwing in the indicator and headlight, this side is finished.
Follow the same procedure on the other side to fit the grille.
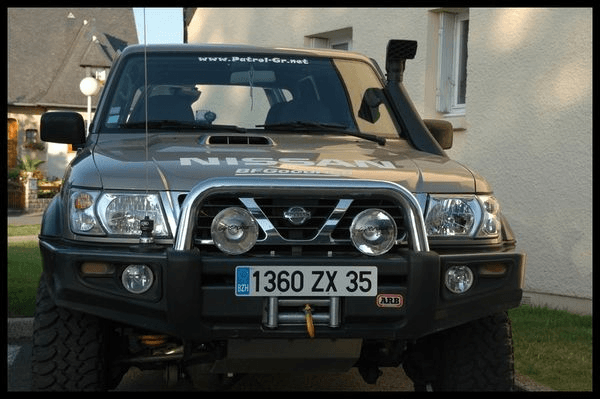
18 - After changing the headlights and indicators, the Patrol has been given a new lease of life!
PARTS
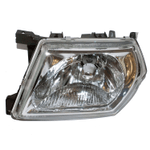
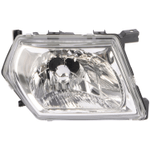
Find the headlights and indicators to suit your vehicle:
Become a 4X4XPERT contributor !
Euro4x4parts features over a hundred mechanical tutorials on 4X4XPERT, designed to get you started and help you maintain and repair your 4x4. These tutorials, illustrated by photos and videos, have been created by us and by some of our customers who are keen to share their knowledge and experience. Why not join us?
Tutorial created with Jeff's help: Patrol-Gr.net
Do it yourself, you'll be even prouder! To help you out, Euro4x4parts shares its know-how and expertise in mechanics through 4X4XPERT: new products, technical sheets, and personalized tutorials... You've got the keys!
And because we also learn from your experiences, your feedback is essential. Let us know your thoughts and suggestions by email: 4x4xpert@euro4x4parts.com
Check out our complete catalogue of 4x4 parts and accessories!
All the photos in our articles are taken on authorized roads or tracks, private land, or during supervised competitions. Let's all do our part to preserve the environment!
Please note: Euro4x4parts publishes this information to help its customers, but cannot be held responsible for the advice given here and their consequences when used.